Dashboard
The Celar Dashboard provides an easy way for PSPs to manage customers. This is especially useful for operators who prefer manual workflows instead of using the API.
Customer verification guidance now lives in Compliance Workflows & Endpoints. Use that page for document uploads, identity verification, and the broader KYC/KYB workflow.
1. Register a Customer
From the Customers tab in the dashboard:
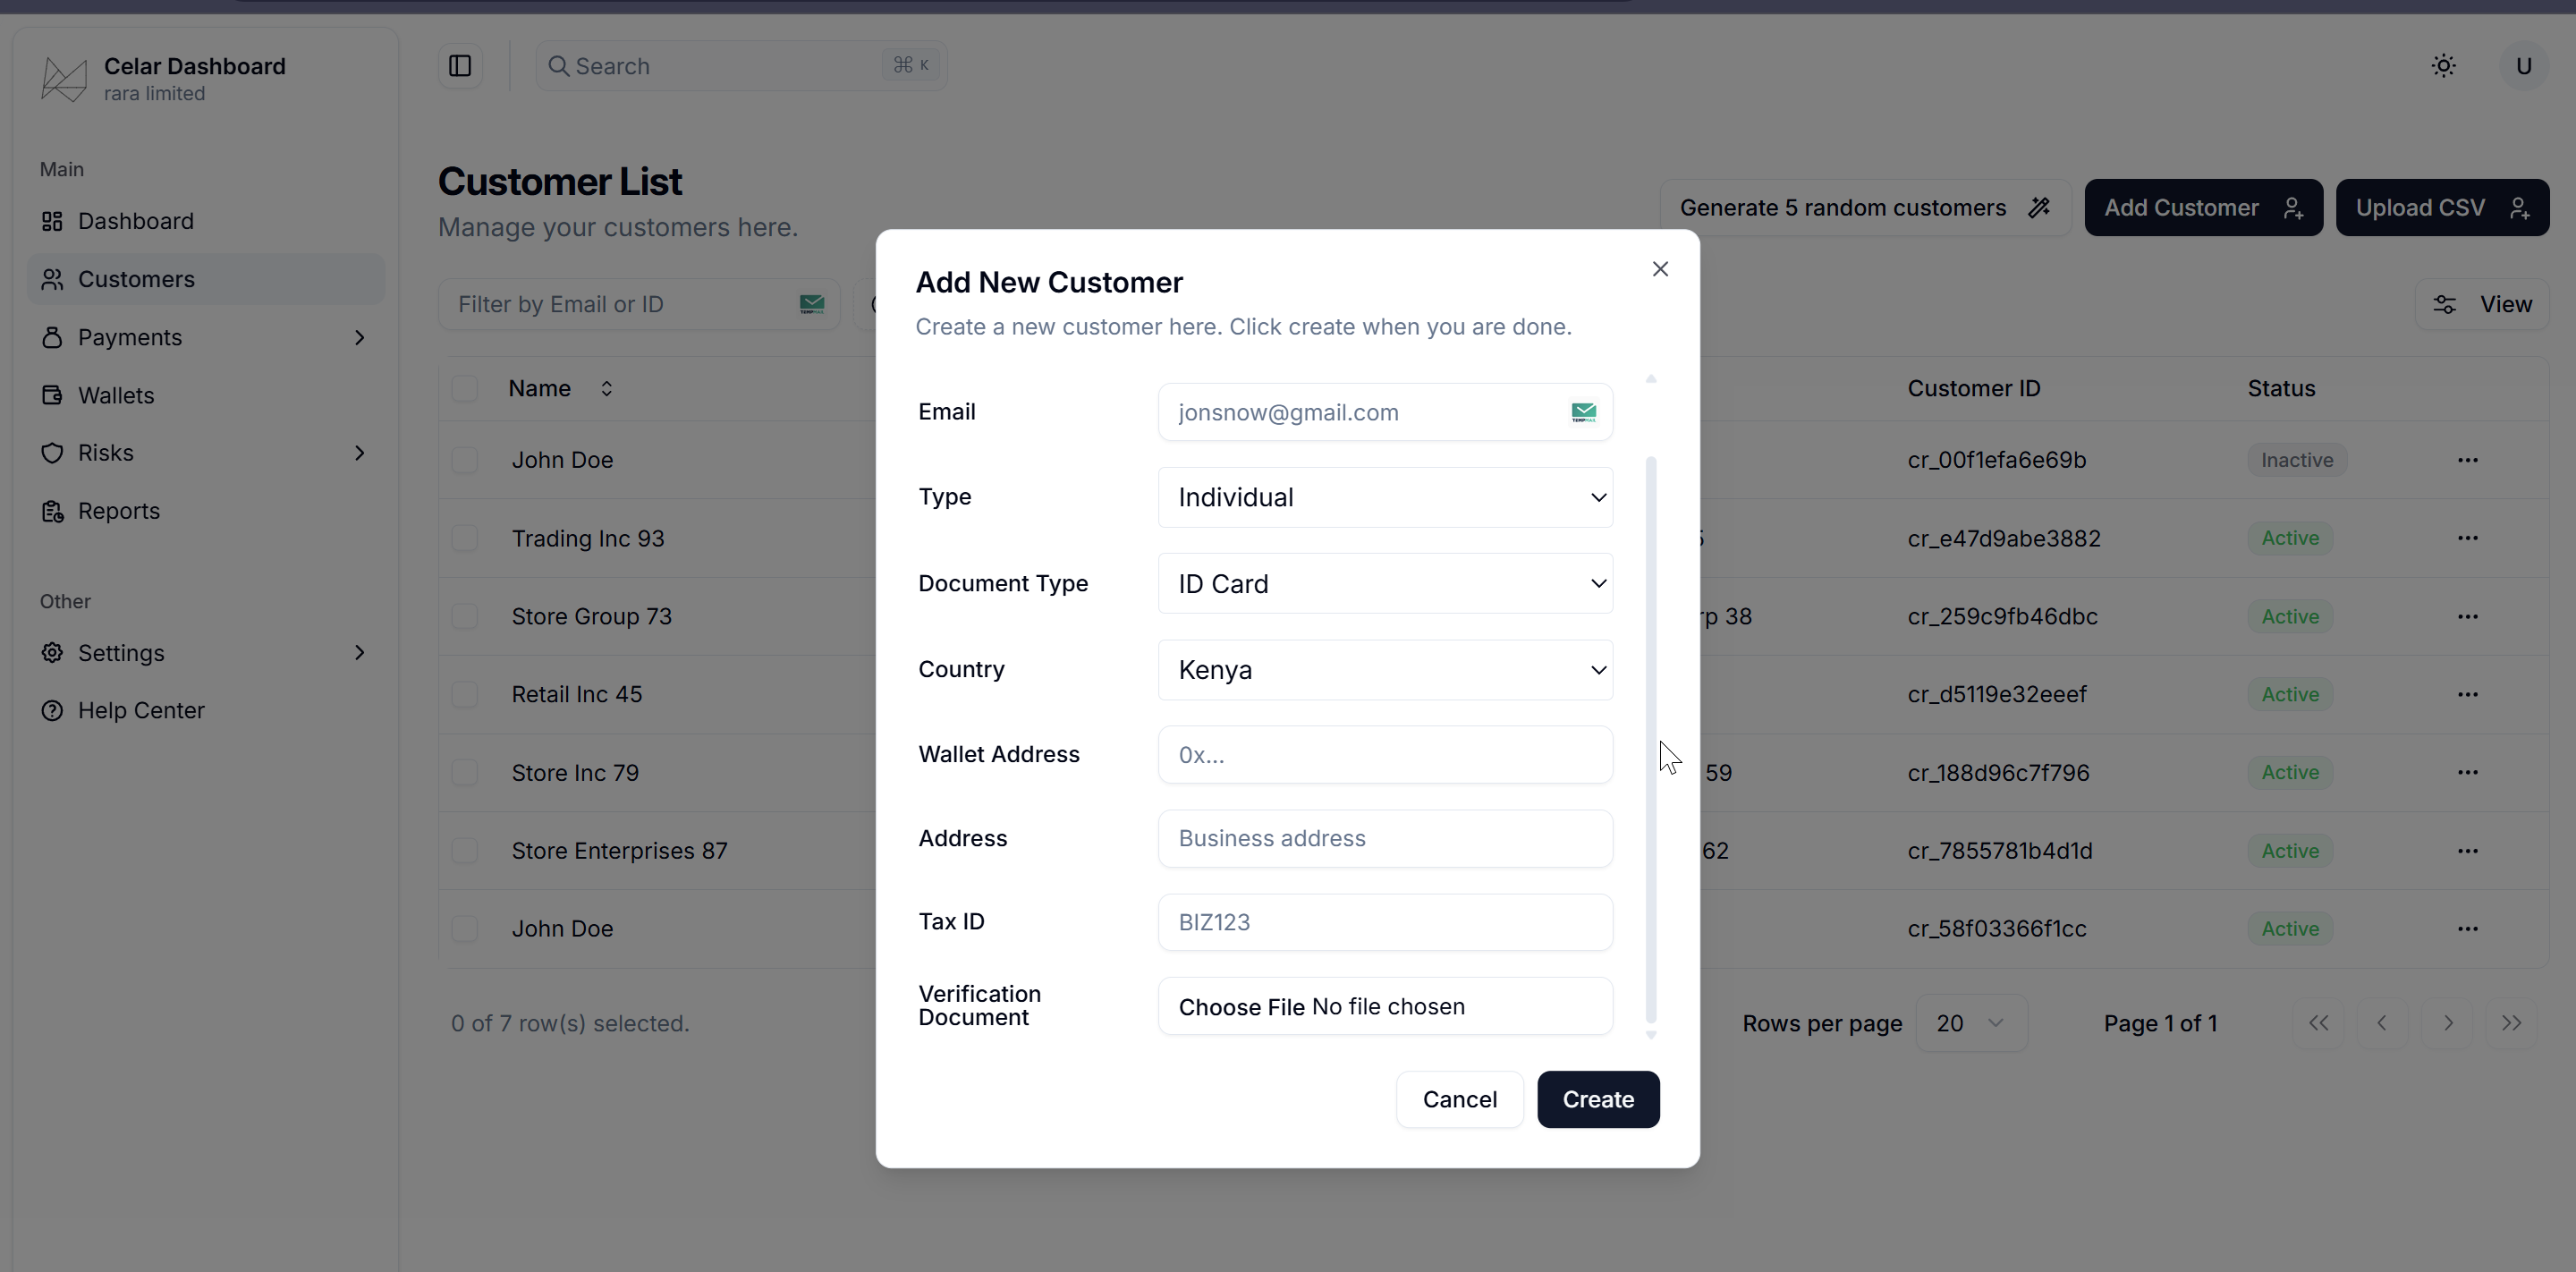
- Click Add Customer.
- Fill in the customer details and select
type(individualorbusiness). - Choose a
document_typebased on the customer type:- Individual:
id_card,passport,driver_license - Business:
incorporation_certificate
- Individual:
- Click Create to save the customer.

2. Update a Customer
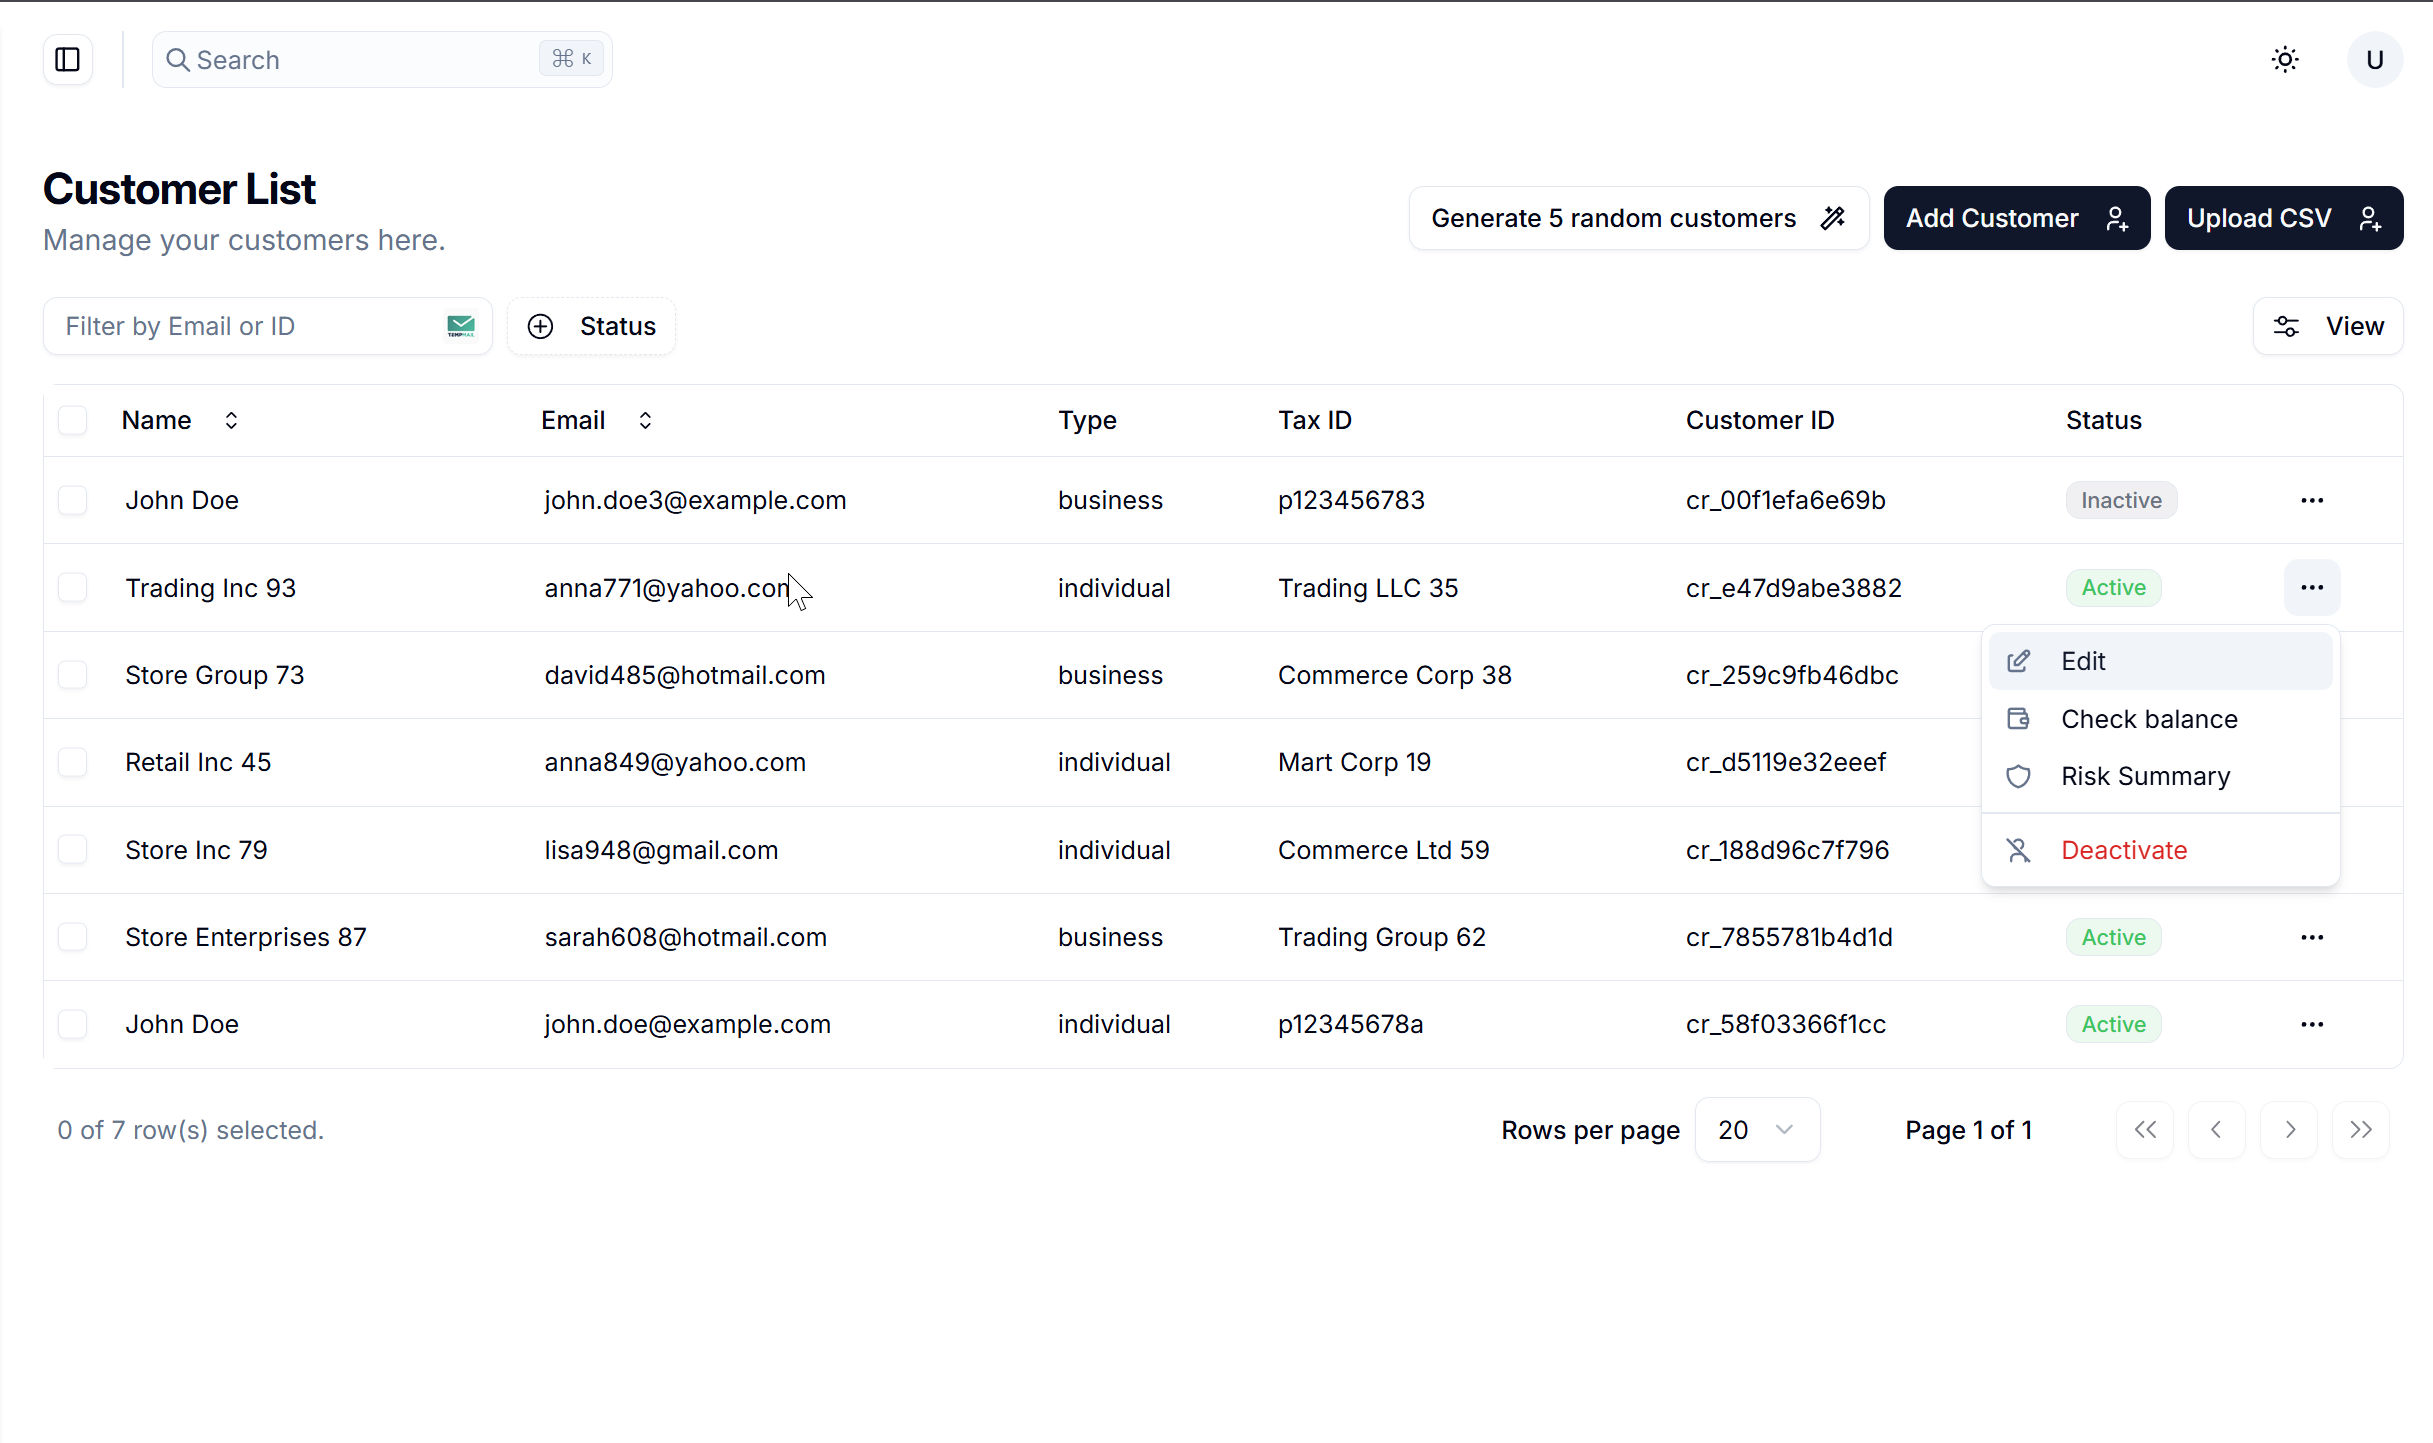
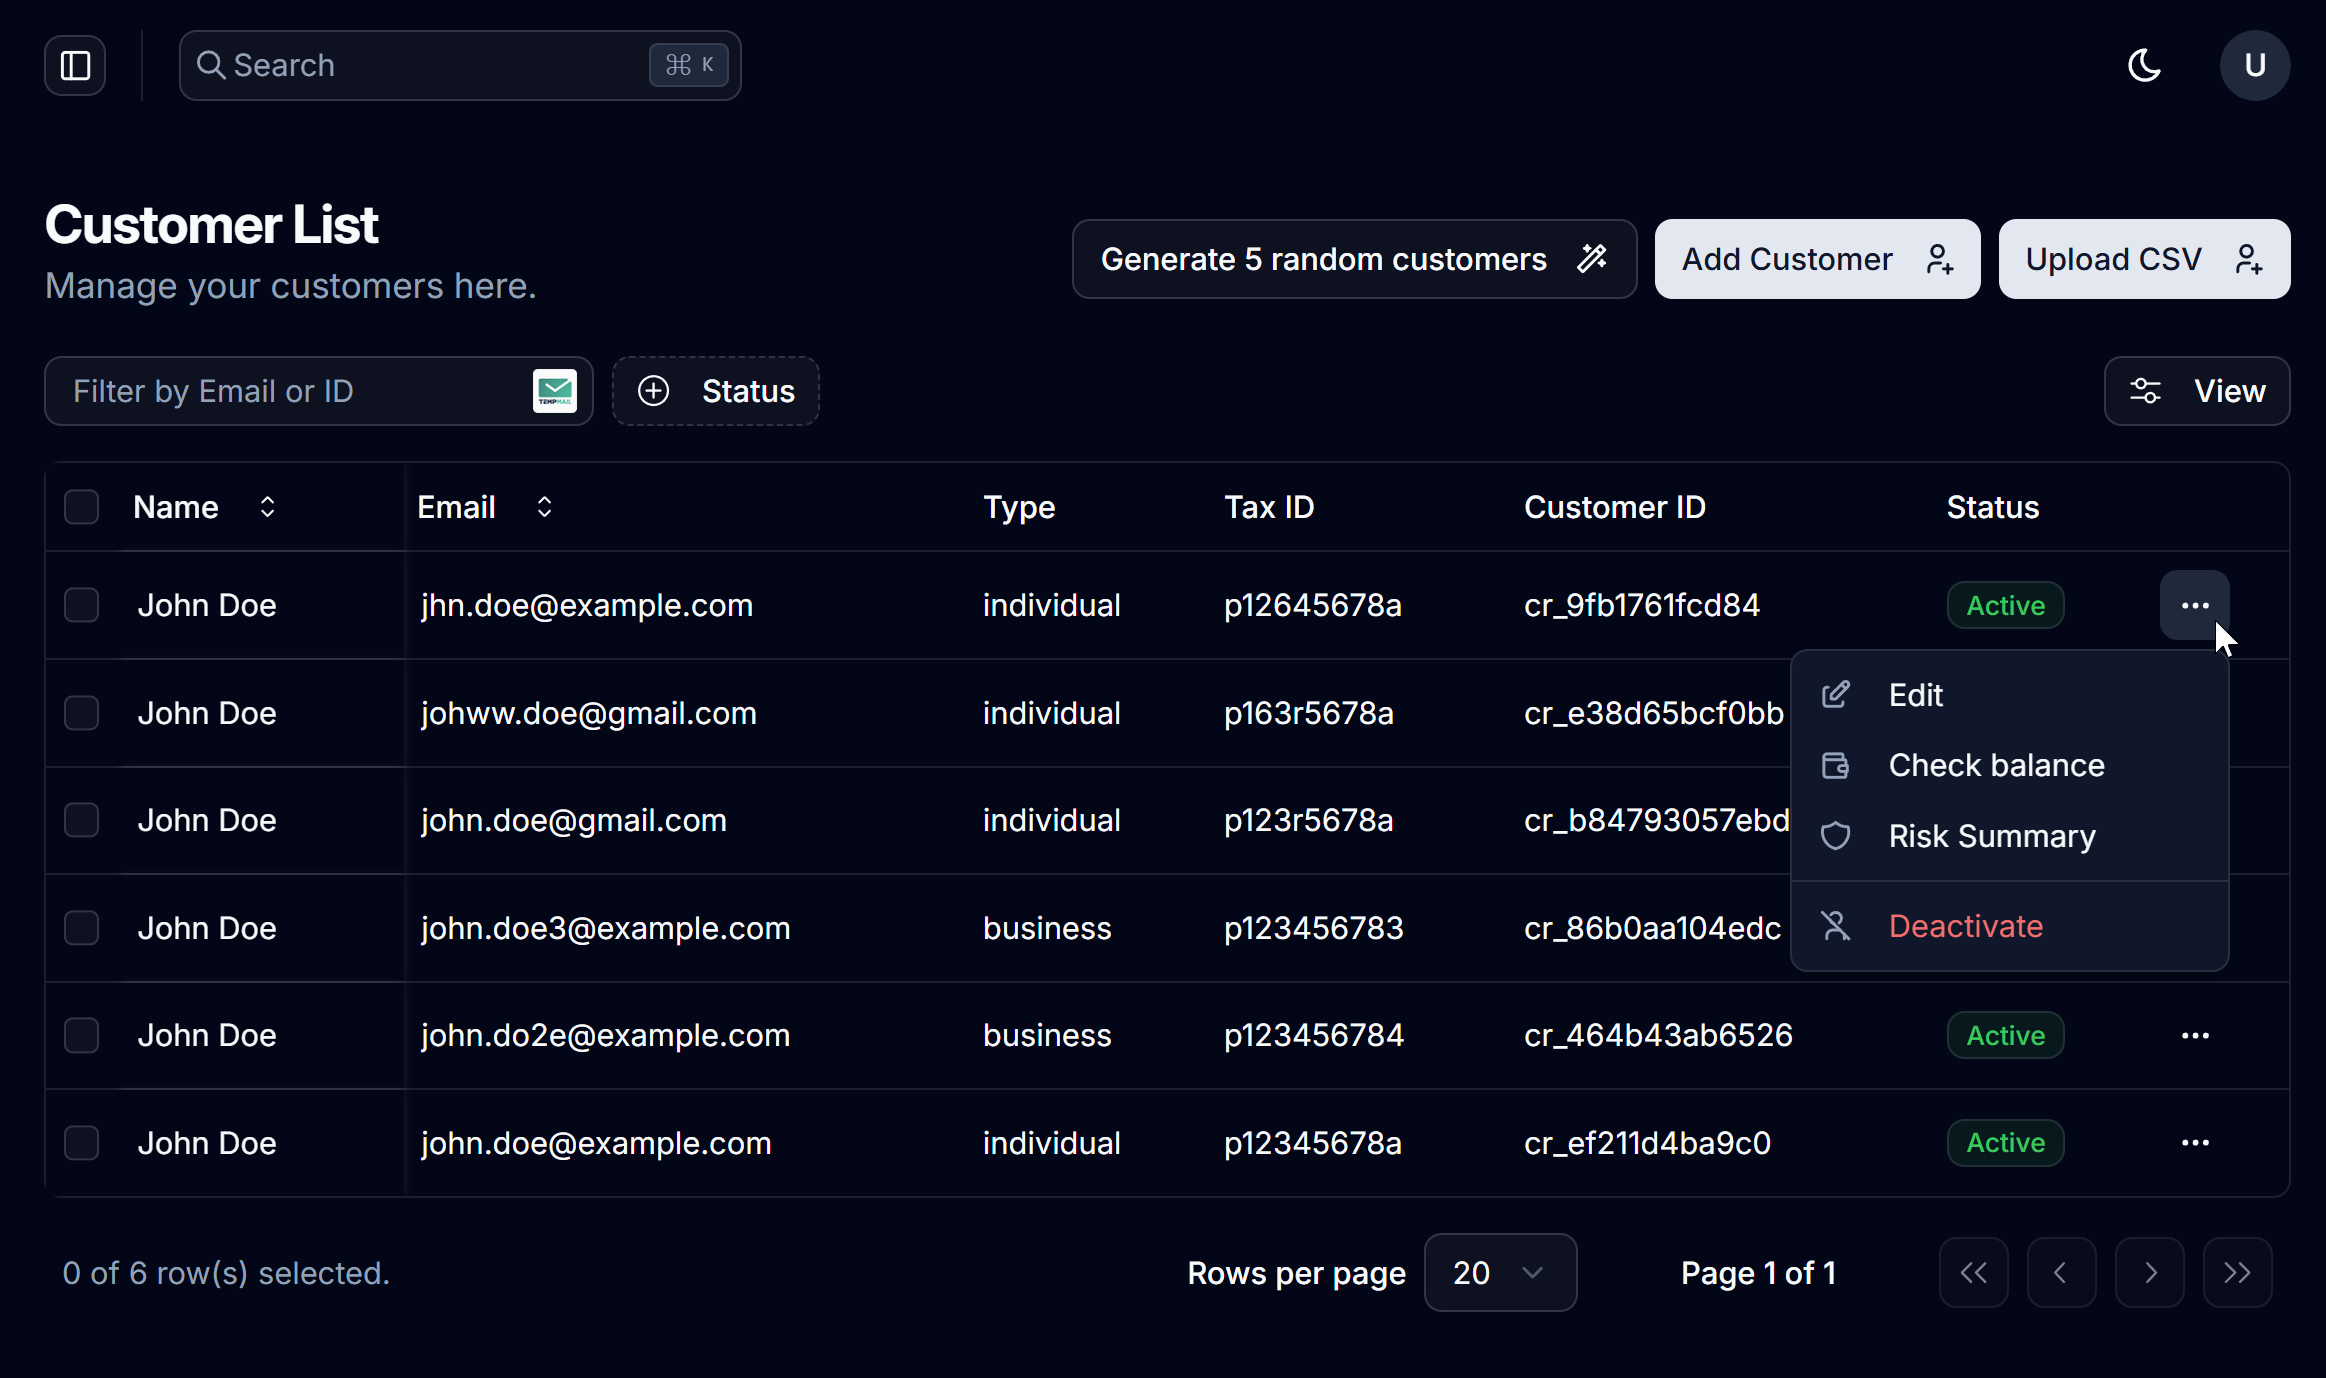
To edit an existing customer:
- Click the three-dot menu (...) next to the customer.
- Select Edit.
- Update the customer's
phone_numberonly. - Save the changes.
If you need to update customer payment details such as wallet_address, bank_name, or account_number, use the payment-details flow instead of the customer-update endpoint.


3. Deactivate a Customer
To deactivate a customer:
- Click the three-dot menu (...) next to the customer.
- Select Deactivate.
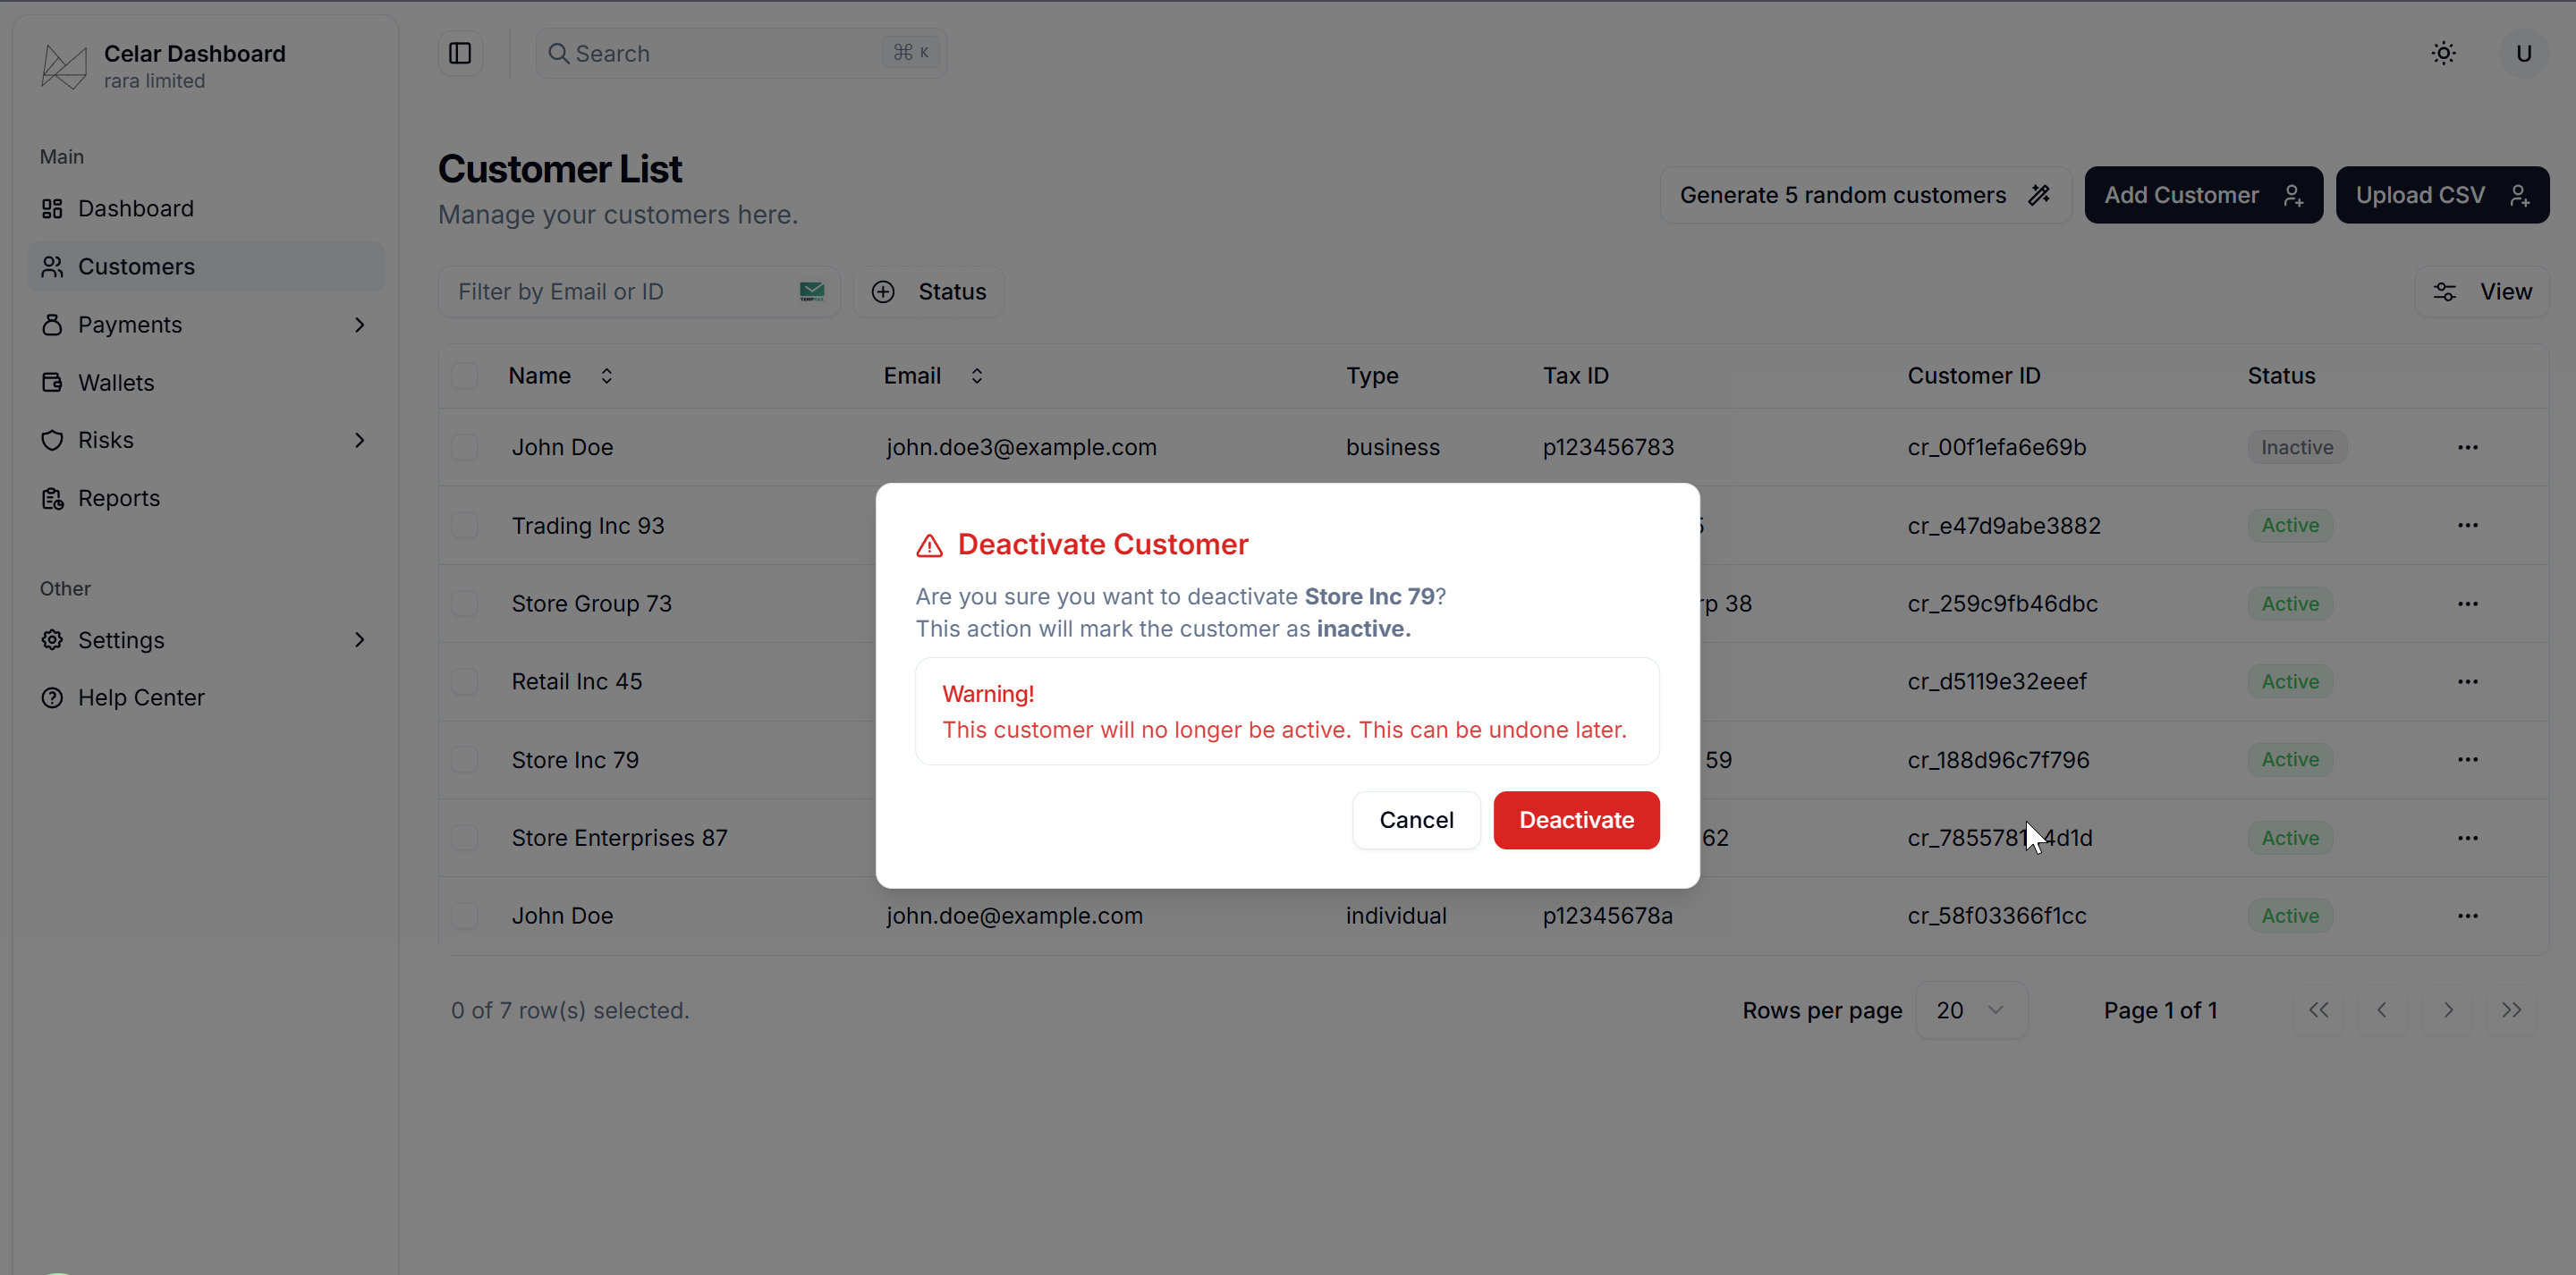
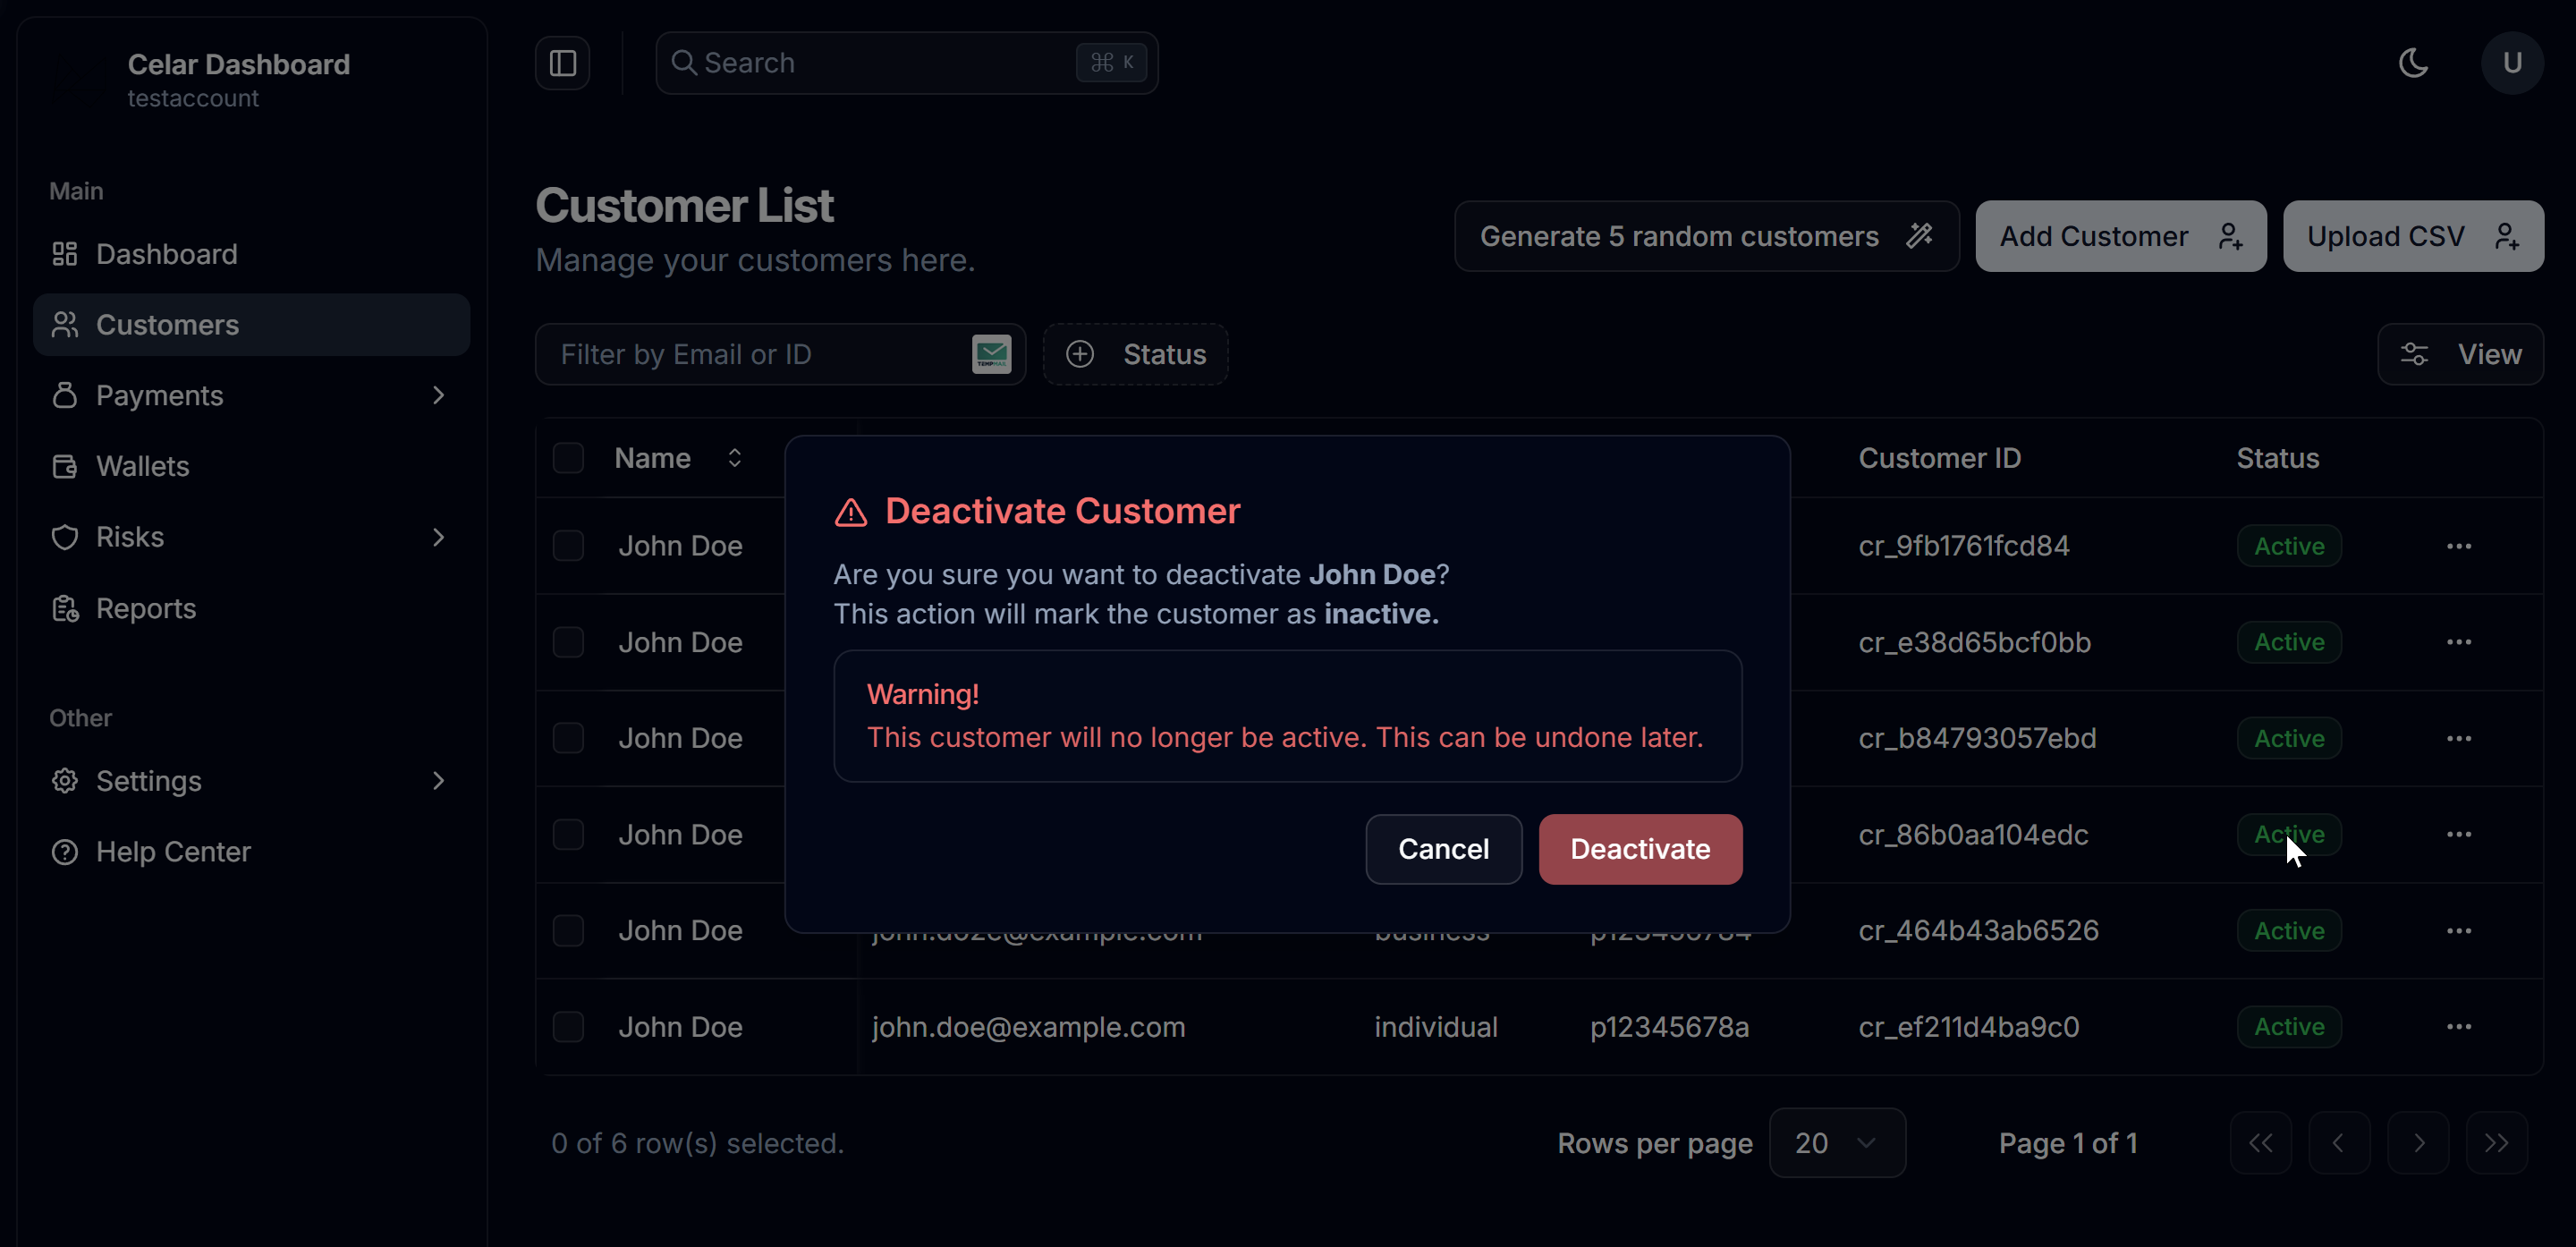
Deactivation is irreversible. Once a customer is deactivated, they cannot be linked to new transactions.
Summary
The dashboard allows you to:
- Add a single customer
- Update or deactivate customers
- Mix manual customer management with API-based workflows
Use Compliance Workflows & Endpoints for the document upload and identity verification steps that follow customer creation.